Terminal & Simulator Setup
Configure Android terminal applications for billing integration and testing.
Wired Integration - UAT Environment
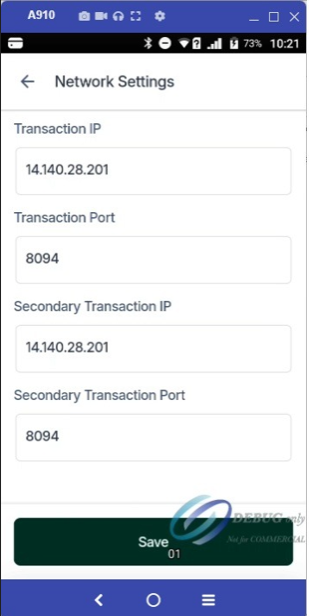
Terminal IP Configuration – Step-by-Step Visual Guide
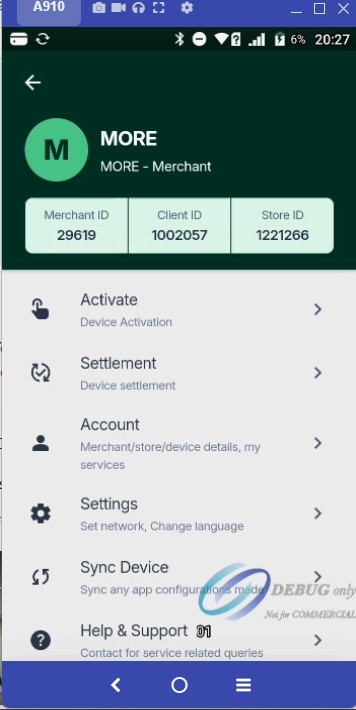
Step 1 - Open Payment App and Click on Merchant profile icon on top right corner
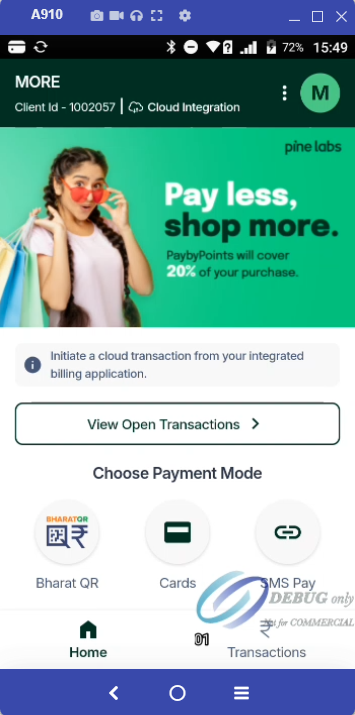
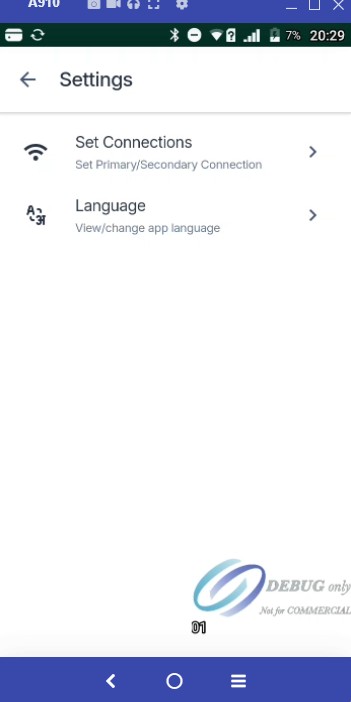
Step 2 - Click on Settings
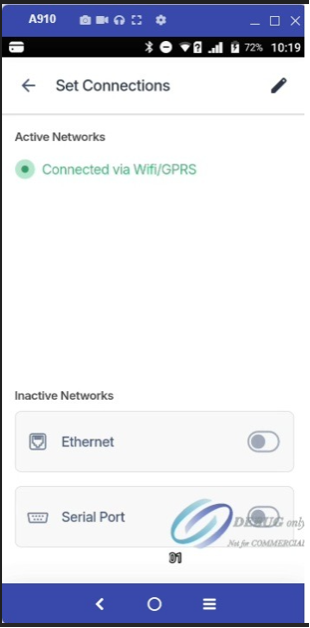
Step 3 - Click on Set Connections
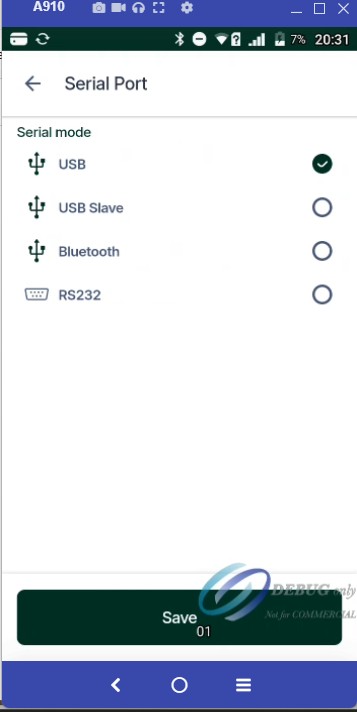
Step 4 - Toggle Serial Port button
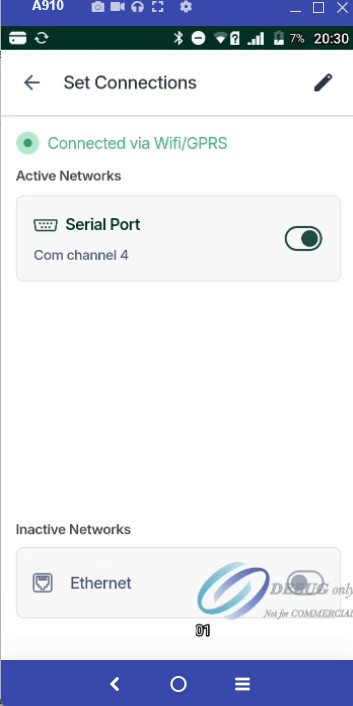
Step 5 - Select the appropriate Serial port and Click on Save button